Category: Recipes

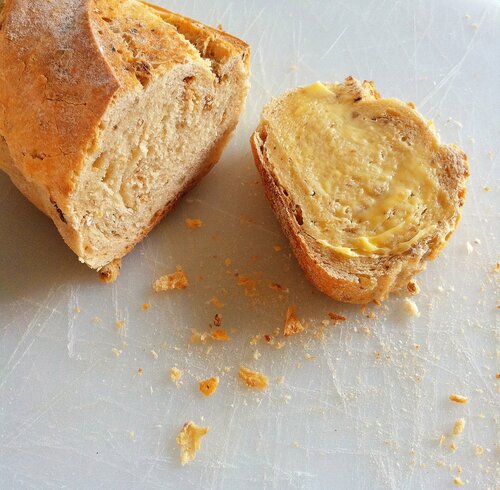
  • Bone Marrow Butter

    Bone Marrow Butter

    Servings and Timing

    • For 1 Dozen:
    • Preparation time : 20 min
    • Cooking time : 20 min

    Ingredients

    •  6-8 pieces marrow bones (cut short, no longer than 2 inches tall)
    • 0.5 cup(s) butter (cut into 1 inch cubes and softened)
    • 0.25 teaspoon(s) sea salt
    • 0.25 teaspoon(s) dried rosemary
    • 0.25 teaspoon(s) fresh parsley (chopped fine)

    Bone Marrow Butter Directions

    1. Preheat oven to 425ºF.
    2. Spread bones out on cookie sheet lined with parchment paper, marrow side up. Roast for 15-20 minutes until marrow is bubbly and knife-tender all the way through. Remove from oven and let marrow bones cool to touch, then scoop out marrow.
    3. Add bone marrow, butter or ghee, salt, parsley, and rosemary to a food processor. Blend until incorporated.
    4. Save bones for bone broth.

  • Herbed Coconut Flour Pizza

    Herbed Coconut Flour Pizza

    Servings and Timing

    • For 1 Serving(s)
    • Preparation time: 20 minutes
    • Cooking time: 15 minutes

    Coconut Flour Pizza Ingredients

    • 3 organic eggs
    • 1 clove garlic, crushed or minced
    • 1 cup(s) coconut milk
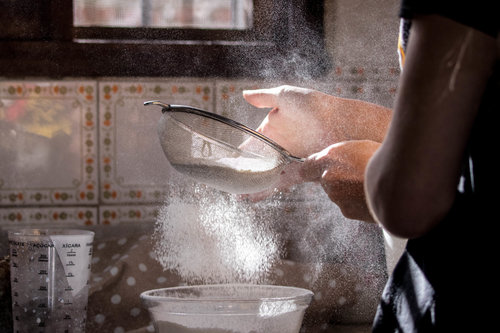
    • 0.5 cup(s) coconut flour, sifted
    • 0.5 teaspoon(s) alum-free baking powder
    • 0.5 teaspoon(s) sea salt
    • 1 teaspoon(s) dried oregano
    • 1 teaspoon(s) dried basil

    Herbed Coconut Flour Pizza Crust Directions

    1. Preheat oven to 375 degrees.
    2. Beat eggs in a medium sized bowl. Mix in milk and garlic. Add remaining ingredients and beat into the milk mixture. The dough will be thinner in consistency then regular dough (more like a batter). Add just a bit more coconut flour if needed. The dough needs to be spreadable and thin but not extremely liquid-y like pancake batter.
    3. Spread thinly and evenly on a pizza pan, pizza stone or cookie sheet lined with greased parchment paper (not wax paper).
    4. Bake for 12-20 minutes in preheated oven. Crust is done when fully cooked through and bottom edges begin to brown.
    5. Remove crust from oven and top with pizza sauce and other toppings. Return to oven for another 10-15 minutes.
  • Chez Panisse Braised Red Cabbage

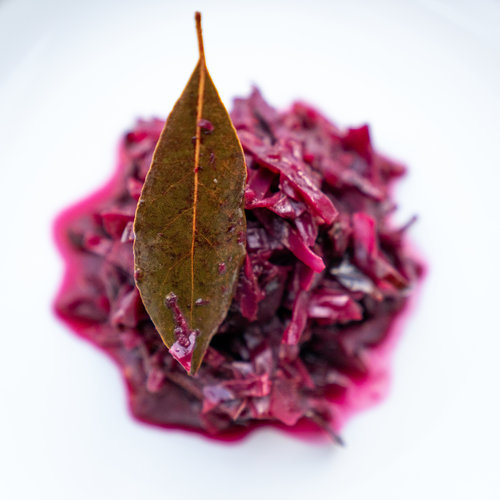
    Chez Panisse Braised Red Cabbage

    Tender, tangy, and beautifully colored, this Braised Red Cabbage is a perfect side dish that brings warmth and depth to any meal.

    Servings and Timing

    • For 4 Person(s)
    • Preparation time: 15 minutes
    • Cooking time: 30 minutes

    Ingredients

    • 1 whole red (or green) cabbage, outer leaves removed, cored, sliced thin
    • 1 whole medium onion, sliced thin
    • 3 tablespoon(s) duck fat, bacon drippings, ghee or cooking fat of choice
    • 1 tablespoon(s) sherry vinegar
    • 1 whole bay leaf
    •  pinch(es) kosher salt & pepper (to taste)
    • 0.5 cup(s) water
    • 1 whole apple, peeled and grated

    Chez Panisse Braised Red Cabbage Directions

    1. Gather and chop up the ingredients.
    2. Melt duck fat (or bacon drippings) in a large skillet over medium heat.
    3.  Add onions and sauté for about 5 minutes, until translucent.
    4. Add cabbage, bay leaf, vinegar, salt, pepper and water.  Bring to a boil, then cover, reduce heat and let simmer for 20 minutes.
    5. Add grated apple to cabbage mixture. Cover and simmer another 5 minutes.
    6. Taste and adjust seasonings.
  • Spanish Cauliflower Rice

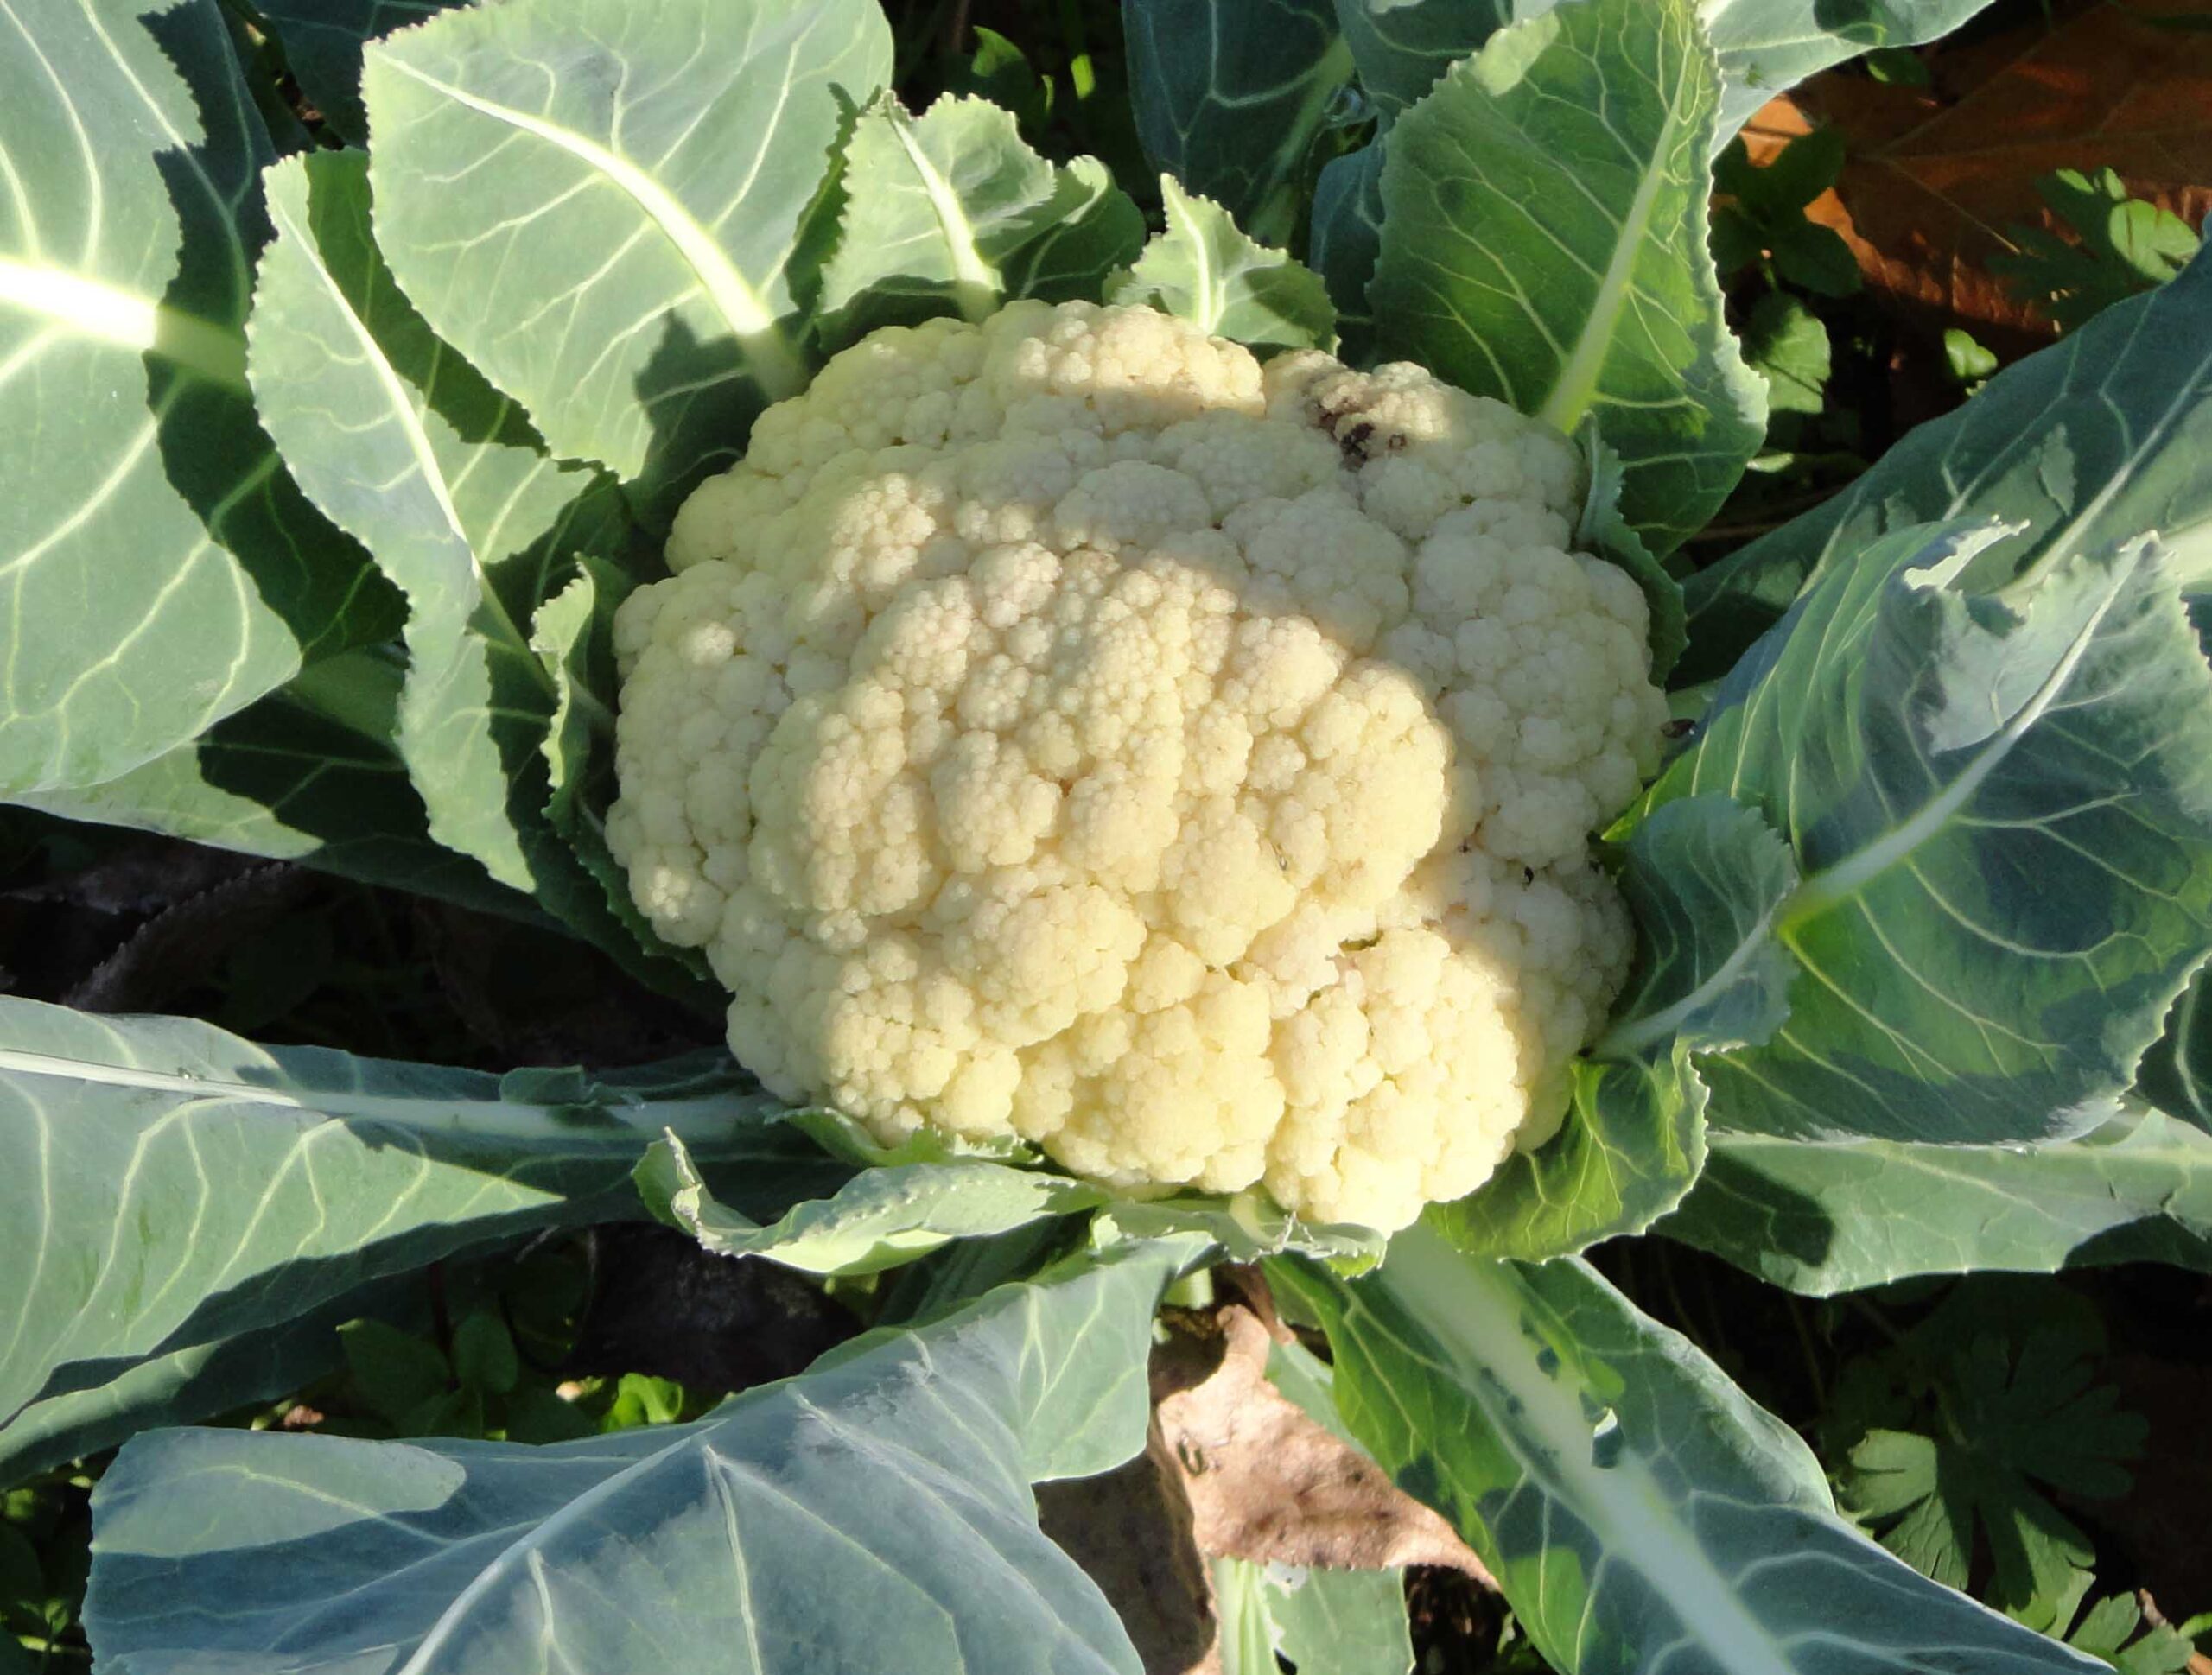
    Spanish Cauliflower Rice

    Servings

    • For 4 Person(s)

    Ingredients

    • 1 whole large head cauliflower (about 2 pounds)
    • 1 tablespoon(s) lard, light olive oil, or coconut oil
    • 1 cup(s) finely diced red onion (about 2 tiny)
    • 1 teaspoon(s) finely ground sea salt, divided
    • 1 teaspoon(s) ground coriander
    • 0.5 teaspoon(s) ground cumin
    • 1 teaspoon(s) dried oregano leaves
    • 1 teaspoon(s) minced garlic
    • 1 cup(s) finely diced tomatoes
    • 0.25 cup(s) fresh cilantro leaves, chopped
    • 1 tablespoon(s) lime juice
    • 1 handful(s) of fresh cilantro leaves, for garnish (optional)

    Spanish Cauliflower Rice Directions

    • 1 – Cut the cauliflower head into quarters through the top, and cut out the core.
    • 2 – Rice the cauliflower by putting it through the chute of a food processor fitted with the shredder blade. Alternately, use the coarse side of a box grater.
    • 3 – Melt the lard in a large skillet over medium heat.
    • 4 – Add the onion and a pinch of the salt to the pan and sweat the onion for 8 to 10 minutes, or until very soft and translucent.
    • 5 – Add the coriander, cumin, oregano, garlic, and remaining salt and stir to combine. Add the cauliflower and saute for another 8 to 10 minutes, or until the cauliflower is soft. (add a tablespoon of water if the spices begin to stick to the bottom of the pan)
    • 6 – Turn off the heat and stir in the tomatoes and cilantro. Squeeze in the lime, give a quick stir, garnish with cilantro leaves, if desired, and serve

    Recipe notes

    • Source: The Zenbelly Cookbook by Simone Miller
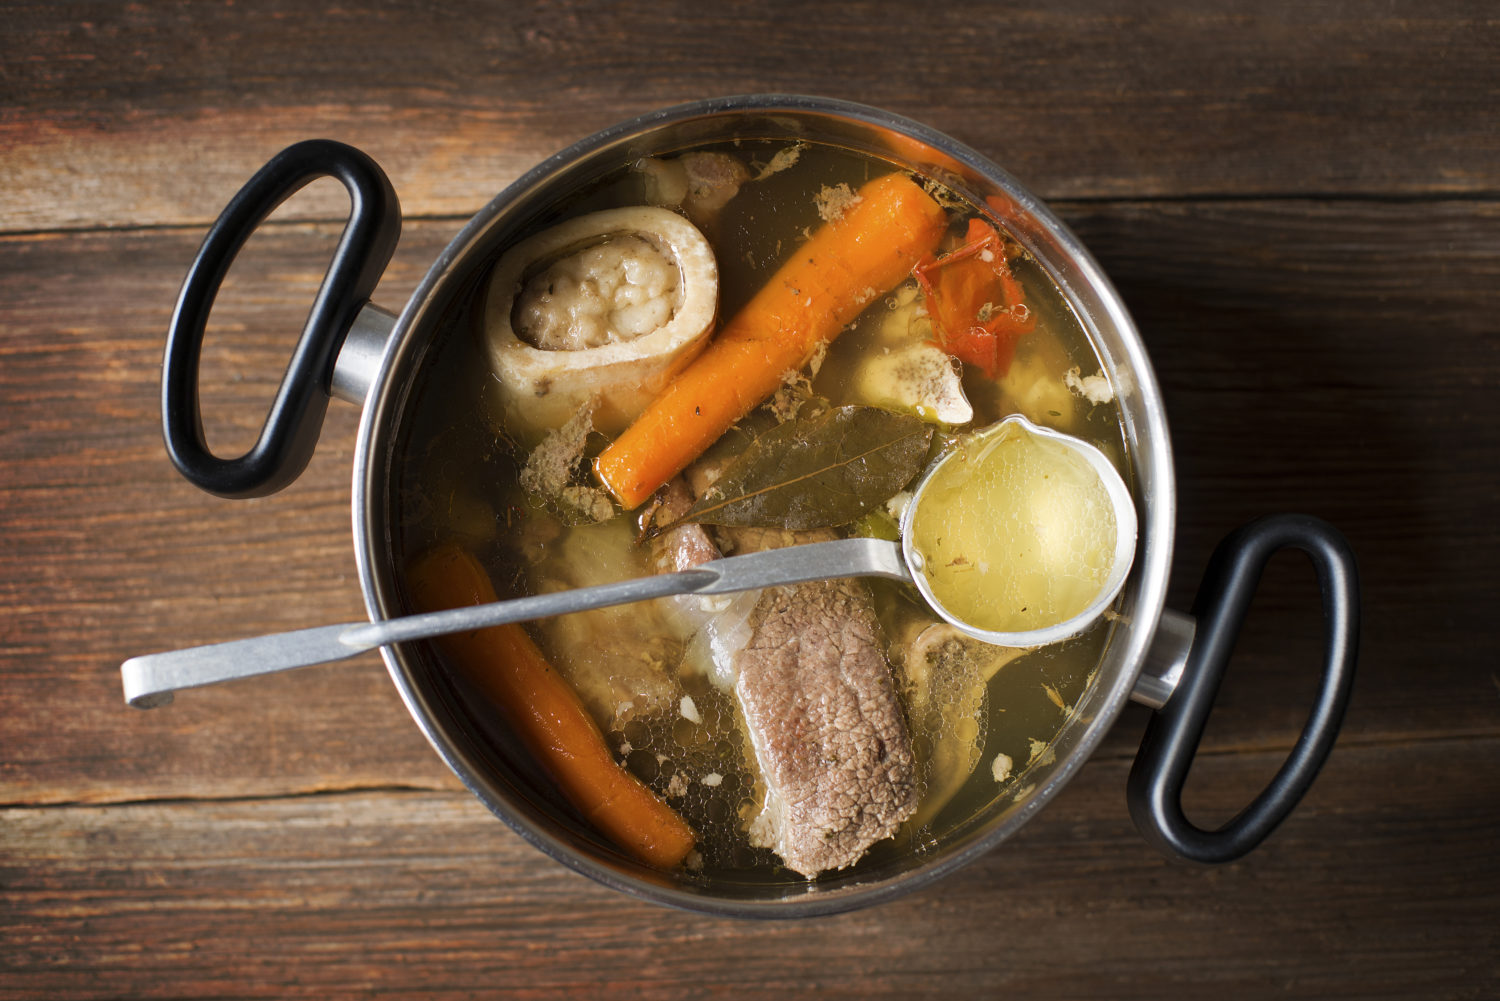
  • Bone Broth

    Bone Broth

    Bone Broth Servings

    • For 14 Serving(s)

    Ingredients

    ·       2 pound(s) beef knuckle, oxtail, marrow bone or any other meaty bones  

    ·       1 garlic clove

    ·       1 whole onion with skin

    ·       2 carrots

    ·       ½  leek

    ·       1 parsnip

    ·       2 celery stalks

    ·       2 bay leaves

    ·       10 peppercorns

    ·       1/4 cup apple cider vinegar

      4 quarts filtered water

    Optional Topping- 1 tablespoon(s) bunch of herbs such as chives or parsley

    Preparation time 20 minutes , Cooking time 12 – 24 hours

    Bone Broth Recipe

    1.      If you’re using a regular stockpot, heat up the pot and add marrow bones, meaty bones and arrange on the bottom of the pot so they are flat. Roast all sides for a few minutes.

    2.      If you are using a crockpot, you may roast your bones and meat in a pot, or under a broiler; then place the bones and remaining ingredients into the crockpot and cook on the lowest setting for the longest time.

    3.      Roasting the bones and meats adds more color and flavor to the broth. However, it’s an optional step. You may also choose to brown them in a little tallow or coconut oil.

    4.      Once the bones and meat are browned, add water, salt and vinegar. The browned parts on the bottom of the pot will add wonderful flavor and color to the broth.

    5.      Bring the stock to a gentle boil. As the stock heats up you will see white foam, called scum, forming on top of the broth. This is completely normal. Skim off all scum with a large flat spoon. Your broth should come almost to boiling, but it’s best to avoid a vigorous boil.

    Turn the broth on LOW, so that it simmers very gently. You may now add the rest of the ingredients. Including the whole onion with skin. You may even add extra onion skins as they give your broth a wonderful golden color. Cover with well-fitting lid.

    6.      Allow the stock to simmer for a minimum of 8 hours and up to 24 hours. The longer it cooks the better! Simmering for 48 hours is even better.

    7.      Turn off the crockpot and allow the stock to cool enough to handle. Take out the big bones and marrow bones first, then strain the stock through a fine mesh metal strainer. Discard vegetables (the vitamins are now in the broth). Take meat off the bones and reserve. Carefully remove bone marrow from bones.

    You may enjoy bone marrow hot, sprinkled with salt, pepper and paprika. Meat and cartilage off the bones may be placed back into soups or other dishes.

    8.      Place the cooled stock into sterile glass jars for storage in the fridge (for up to 2 weeks) or pour into freezer-safe containers for later use. (You can also freeze it in ice cube trays and defrost a few at a time!). The fat in the jars will rise to the top and solidify. This is an airtight seal, preserving your broth. Once removing the “plug” you may reserve it in the refrigerator for cooking.

    This is a very stable fat good for high-temperature cooking. This fat is extremely healing and should never be thrown away. Feel free to leave as much of it in the broth as you like or keep it in a jar and use it for cooking.

    9.      When the broth is fully cooled and cool, it will be gelatinous. That means your broth is gelatin-rich! At times, a longer or very hot simmer may break down the gelatin and your broth won’t appear gelatinous. That’s OK! The minerals are still there.

    10.    Add salt to the stock as needed. You can drink stock any time of day, before or after meals, or use it as the base for soups and stews! Perfect in any recipe that calls for broth. Sprinkle with chopped fresh herbs (especially chives) if desired.

    Steps

    The addition of vinegar or lemon juice is important as it helps release the minerals from the bones. Bone broth, bone marrow and bone cartilage are also extremely important components in healing and sealing the gut. While we can also use vegetable-only broths to obtain certain minerals, without bones in the mix, we won’t get some of the other fantastic benefits from the gelatin and collagen they provide.

    This recipe make approximately 64 oz. of broth depending on how much water, how much you reduce the broth and how strong you like the flavor to be. Use any other kind of animal bones you like – chicken, in fact, will take less time due to the smaller pieces. A crockpot makes this recipe super-simple, but you can also use a large stock pot (hence the name) or an enameled cast-iron Dutch oven

    (Source: wapf.org)

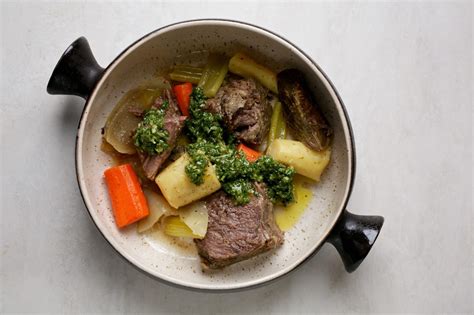
  • Pot Au Feu

    Pot Au Feu

    Servings and Timing

    • For 4 Person(s)
    • Although 3 hours cook time, little prep.

    Ingredients

    •  4 lbs. Beef Chuck Roast·      
    •  4 Quarts Beef Broth·       
    • 3 sprigs Parsley·      
    •  1  BayLeaf·      
    •  6 whole Peppercorns·     
    •   6 whole cloves·      
    •  2 chopped onions·      
    •  2 medium, quartered Turnips·       
    • 1 stalk, 3″ lengths Celery·      
    • ½ lb. Carrots, peeled, 3·       
    •  to taste salt

    Pot Au Feu Recipe

    1. Place meat in a large stockpot. Cover with broth. Add parsley, thyme, bayleaf, peppercorns and cloves (can be tied into a cheesecloth to make later removal easier). If your broth is unsalted, add approximately 1 tsp salt.2.    

      2. Cook until meat is very tender, about 3 hours at 300 degrees F/ 150 degrees C     

     3. Add onions 30 minutes before meat is done. Add celery, turnips and carrots about 15 minutes before meat is done. Remove herbs and spices.      

    4. Cut meat into serving size pieces and place in a bowl. Cover with broth and cooked vegetable to serve. 

    Recipe notes

    Source: Dr Natasha Campbell-McBride, Internal Bliss. 

  • Coconut Bars (With Variations)

    Coconut Bars (With Variations)

    Servings

    • Makes 12 bars

    Ingredients

    • 2 eggs
    • 1 pinch(es) fine sea salt (to taste)
    • 2 cup(s) unsweetened shredded coconut
    • 1 teaspoon(s) seasoning (to taste)
    • ½  cup(s) chunks of nuts, raisins, chips, etc.(to taste)

    Coconut Bars Recipe

    1. Preheat oven to 350 degrees.  Grease a 9×9 pan with coconut oil.
    2. Whisk egg, salt and “seasoning” (can be vanilla, cardamom, curry, lemon zest…  whatever your imagination wants to try) together.
    3. Add coconut, mix well, and cover bowl with a plate.  Let sit while oven heats up.  This allows coconut some time to absorb moisture from eggs.
    4. Mix in desired “chunks.”  Can be mini chocolate chips (recommend the Enjoy Life brand), raisins, golden raisins or other dried fruit.  Again, there is room for imagination.
    5. Press coconut mixture into pan.  Bake for 20 minutes or until starting to turn golden.
    6. Let cool, cut into squares and enjoy!

    Recipe Notes

    Credit: Adapted from The Paleo Mom

  • Curry Butternet Squash Soup

    Curry Butternet Squash Soup

    Servings

    • Serves 3

    Ingredients

    • 1 ½  teaspoon(s) chives as garnish
    • 6 apples such as fuji or honey-crisp
    • 4 ½  tablespoon(s) curry powder
    • 9 medium onions
    • 18 cup(s) homemade stock/bone broth
    • 6 tablespoon(s) butter
    • 1 ½  cup(s) homemade cultured cream or mascarpone cheese to taste, you may want more
    • 3 butternut squash
    • 6 tablespoon(s) honey or maple syrup

    Curry Butternet Squash Soup Recipe

    1. Peel squash and apples and cut into 1 inch cubes.
    2. Melt butter and add onions, cook until tender.
    3. Add squash, apples, maple syrup and curry powder.
    4. Cook one minute.
    5. Add stock and bring to simmer over medium heat. Cook 25 minutes or until squash is tender. 
    6. Whisk in cultured cream
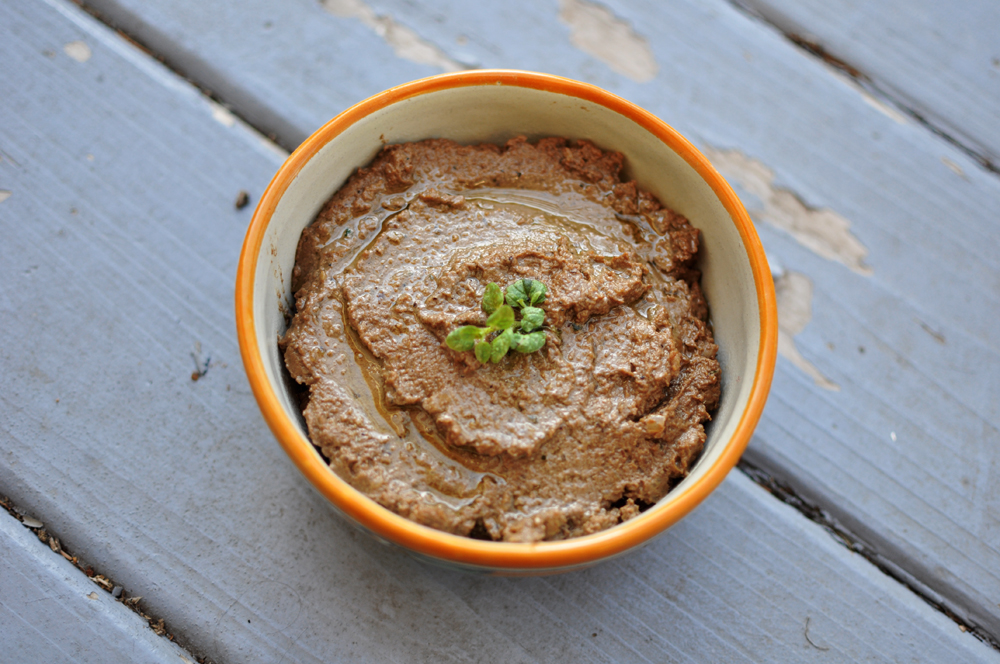
  • Basic Chicken Liver Pate

    Basic Chicken Liver Pate

    Ingredients

    • 3 tablespoon(s) Animal fat, butter, ghee, bacon fat, lard, or even coconut oil
    • 1 pound(s) chicken livers (other livers could be used instead such as beef or duck)
    • 1/2 pound(s) mushrooms, fresh, or dried (which must be soaked first)
    • 1 whole large onion
    • 3/4 cup(s) dry white, or vermouth wine
    • 3 cloves or more garlic
    • 1/2 teaspoon(s) dry mustard
    • 1 tablespoon(s) rosemary or sage
    • 2 tablespoon(s) parsley, dill or basil, fresh best, may add more
    • 1 teaspoon(s) or more lemon juice
    • 1/2 cup butter, ghee, or coconut oil
    • 1 pinch of sea salt (to taste)

    Chicken Liver Pate Recipe

    1. Melt animal fat in a heavy skillet, (depending on diet restrictions, butter, bacon fat, coconut oil, ghee, etc.)
    2. Brown onions until translucent.
    3. Add mushrooms, 1/2 of the garlic, livers, stirring until liver is browned.
    4. Add wine, lemon juice,mustard, lemon juice, and continue cooking uncovered, until liquid absorbed.
    5. Add rosemary or sage.
    6. Cool. Process in food processor with softened butter, ghee, or coconut oil, and the rest of the garlic, parsley, dill or basil.
    7. Salt to taste.
    8. Scrape out of processor and place into mold.
    9. Chill. Serve as a spread or on a platter. 

    Credit: Shelley H Lane, inspired by Sally Fallon, Nourishing Traditions Cookbook

  • Cecina

    Cecina

    Cecina Timing

    • Preparation time: 1 day & 5 hours
    • Cooking time: 30 minutes


    Cecina Ingredients

    •  1 cup(s) dried garbanzo beans
    •  1 cup(s) water·       
    • 1 tablespoon(s) sea salt    
    •  1/4 cup extra virgin olive oil
    •  1 dash(es) fresh ground pepper

    Cecina Recipe

    1. Soak one cup of dried garbanzo beans in filtered water and sea salt for at least 12 hours – 24 hours (best). Rinse with water and blend in blender with one cup of water until batter -like consistency; no lumps. Cover and let set out for at least 4 hours (overnight best). 
    2. Heat oven to 400 degrees. Stir mixture. Pour a small amount of olive oil on to large flat pan, with low borders, to cover the bottom of pan. Cookie sheet (with borders), or large baking dish will work. Determine size of pan by how thick you want the finished bread to be. It should be between 1/4 inch.
    3. Pour mixture into pan and bake in oven about 30 minutes, until it resembles a golden crust
    4. You may sprinkle sea salt before cooking, or any other spice that appeals to you. Also, grind fresh black pepper on top after it comes out of the oven. Cut into slices and enjoy alone, with butter or ghee spread on top, or any other spread.
    5. May increase amount by using equal parts garbanzos to water.

    Recipe Notes

    Modified from several recipes, including the Nourished Kitchen.